Quick Start - Syncthing First Steps
In order to start syncing you will need to install Syncthing on your computer.
In order to start syncing you will need to install Syncthing on your computer.
your device#
add folder –#
- Download Syncthing from the official Syncthing website.
- Install Syncthing on your computer. Follow the official guide at
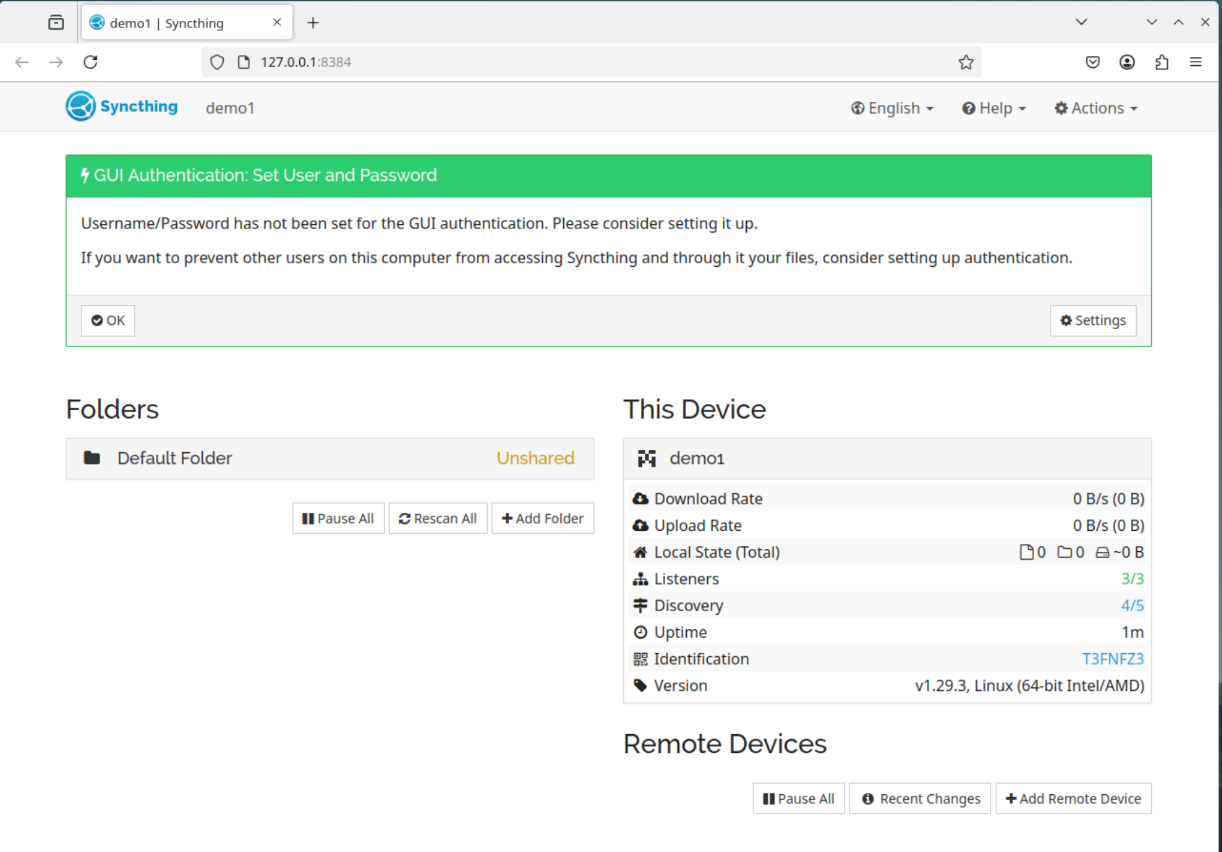
- Setup username / password (recommended) or click “ok”.
- Add a new folder
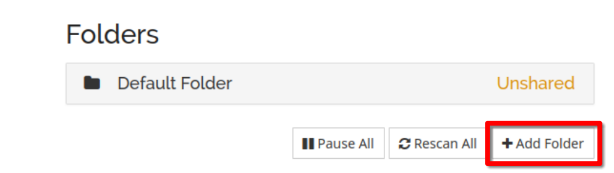
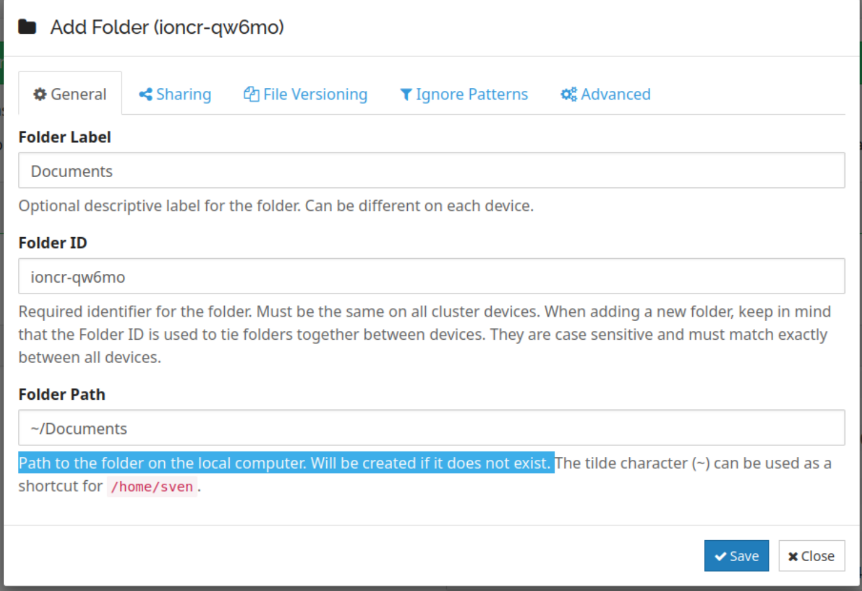 In this example we share the existing folder ~/Documents. Depending on your OS the name is case sensitive.
copy device id –#
- Click on the “Actions” => “Show ID”
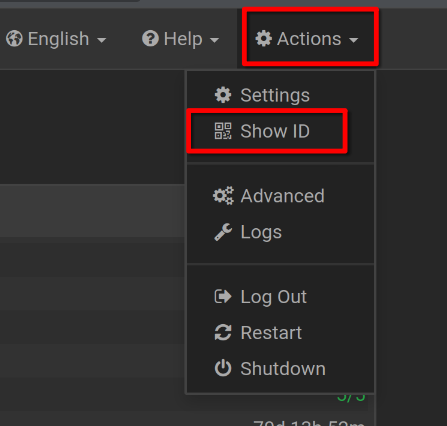
- Copy the device ID
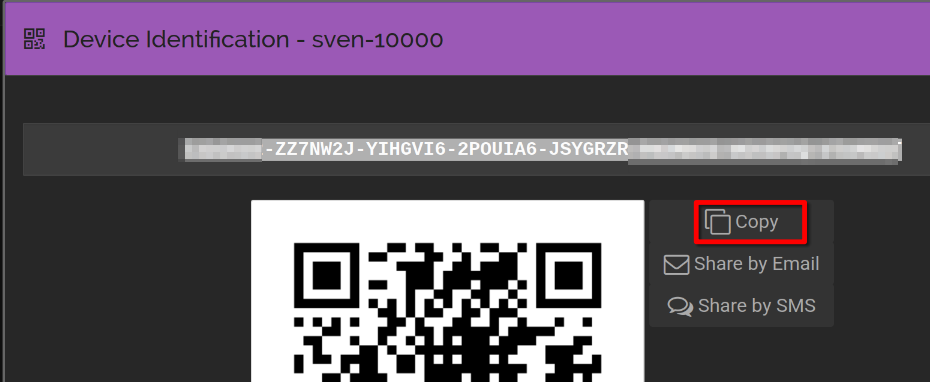
@ syncding.com#
add device –#
- Go to your syncdin.com instance (ie. https://[instance-id].syncding.com)
- Click on “Remote Devices” => “Add Remote Device”
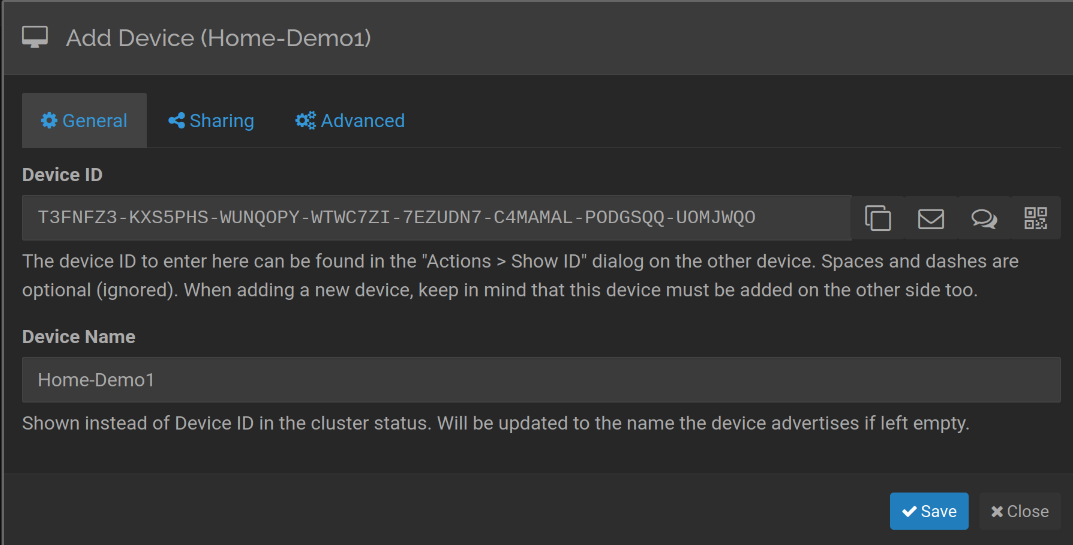 Optional: assign a custom device name to better describe the device
@ your device#
add device –#
- Ackknowledge the remote device
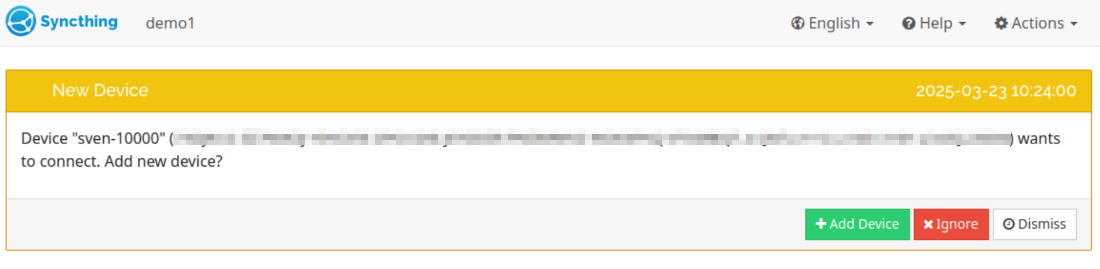
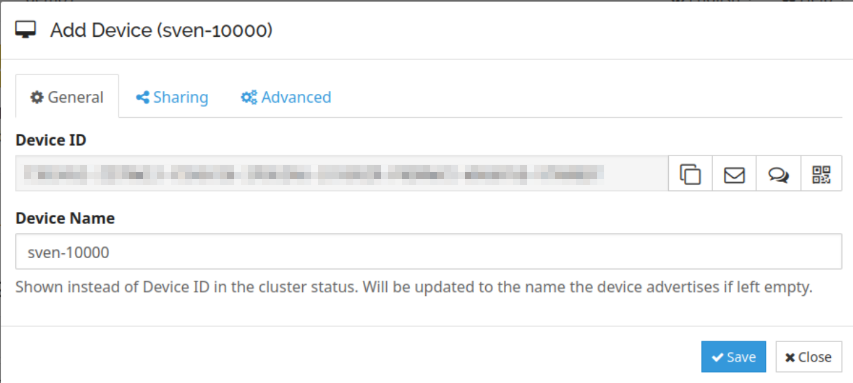
share folder –#
- Select the folder you want to share and click on “Edit” => “Sharing”
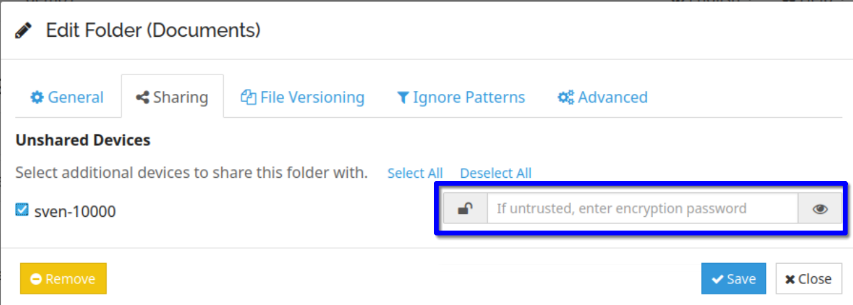 Attention:
Syncding.com recommends to use the Encryption. But be careful.
Read up on the documentation on how to use encryption.
When used it affects the use of snapshots and the filebrowser.
Attention:
Syncding.com recommends to use the Encryption. But be careful.
Read up on the documentation on how to use encryption.
When used it affects the use of snapshots and the filebrowser.
@ syncding.com#
ackknowledge the new folder –#
- Click on “Add”

- Click on “Save”
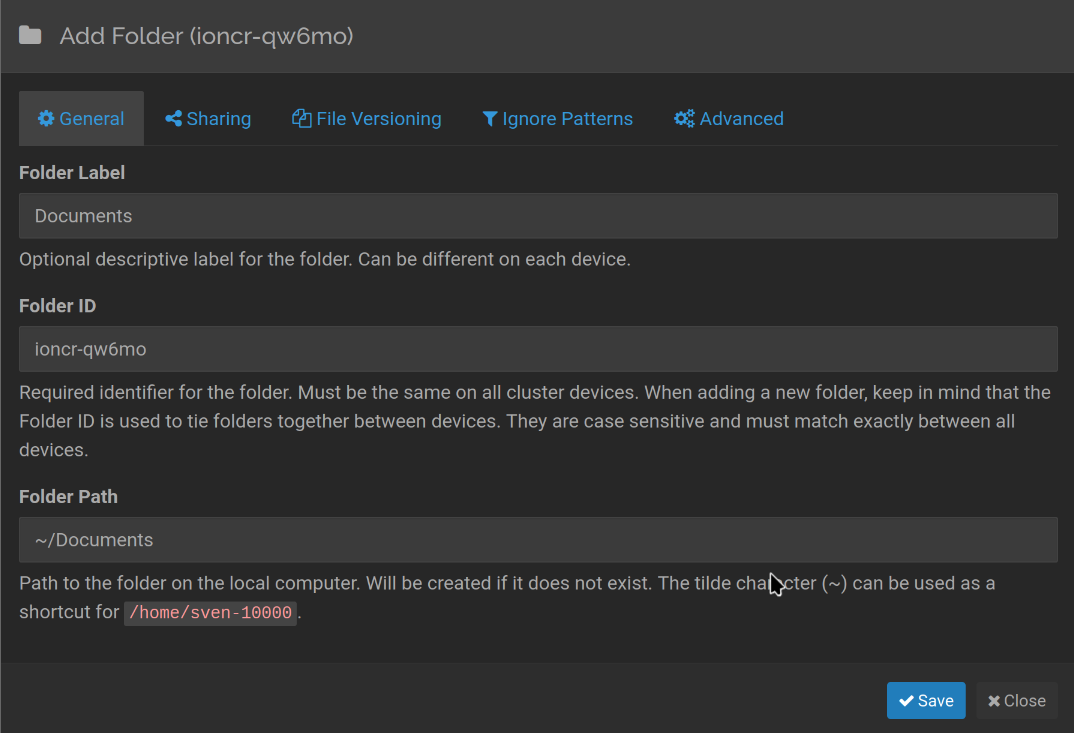
Auto accept –#
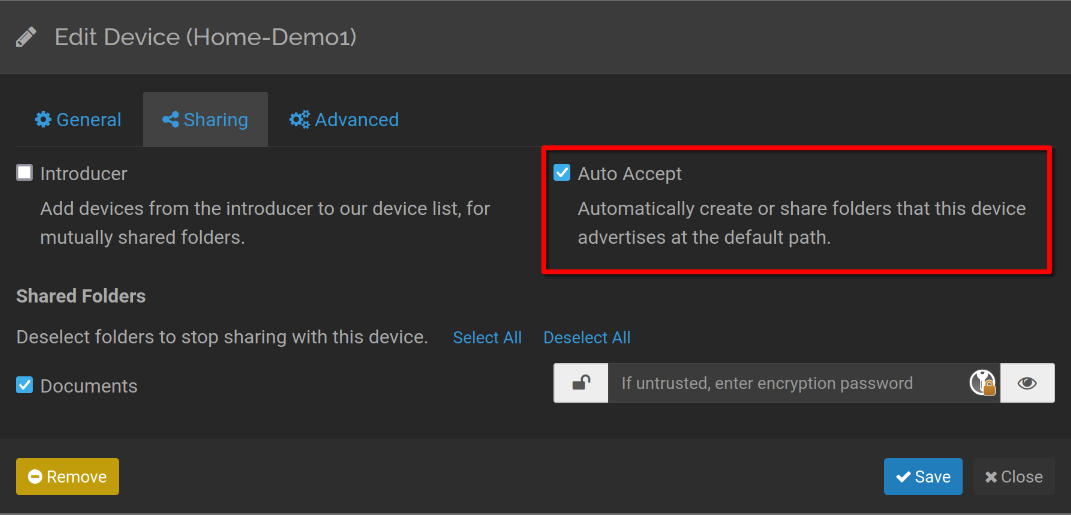 You can accept the remote device automatically by clicking on the “Auto accept” button.
For security reasons we don’t recommend to use the Introducer feature.
Happy Syncing!